
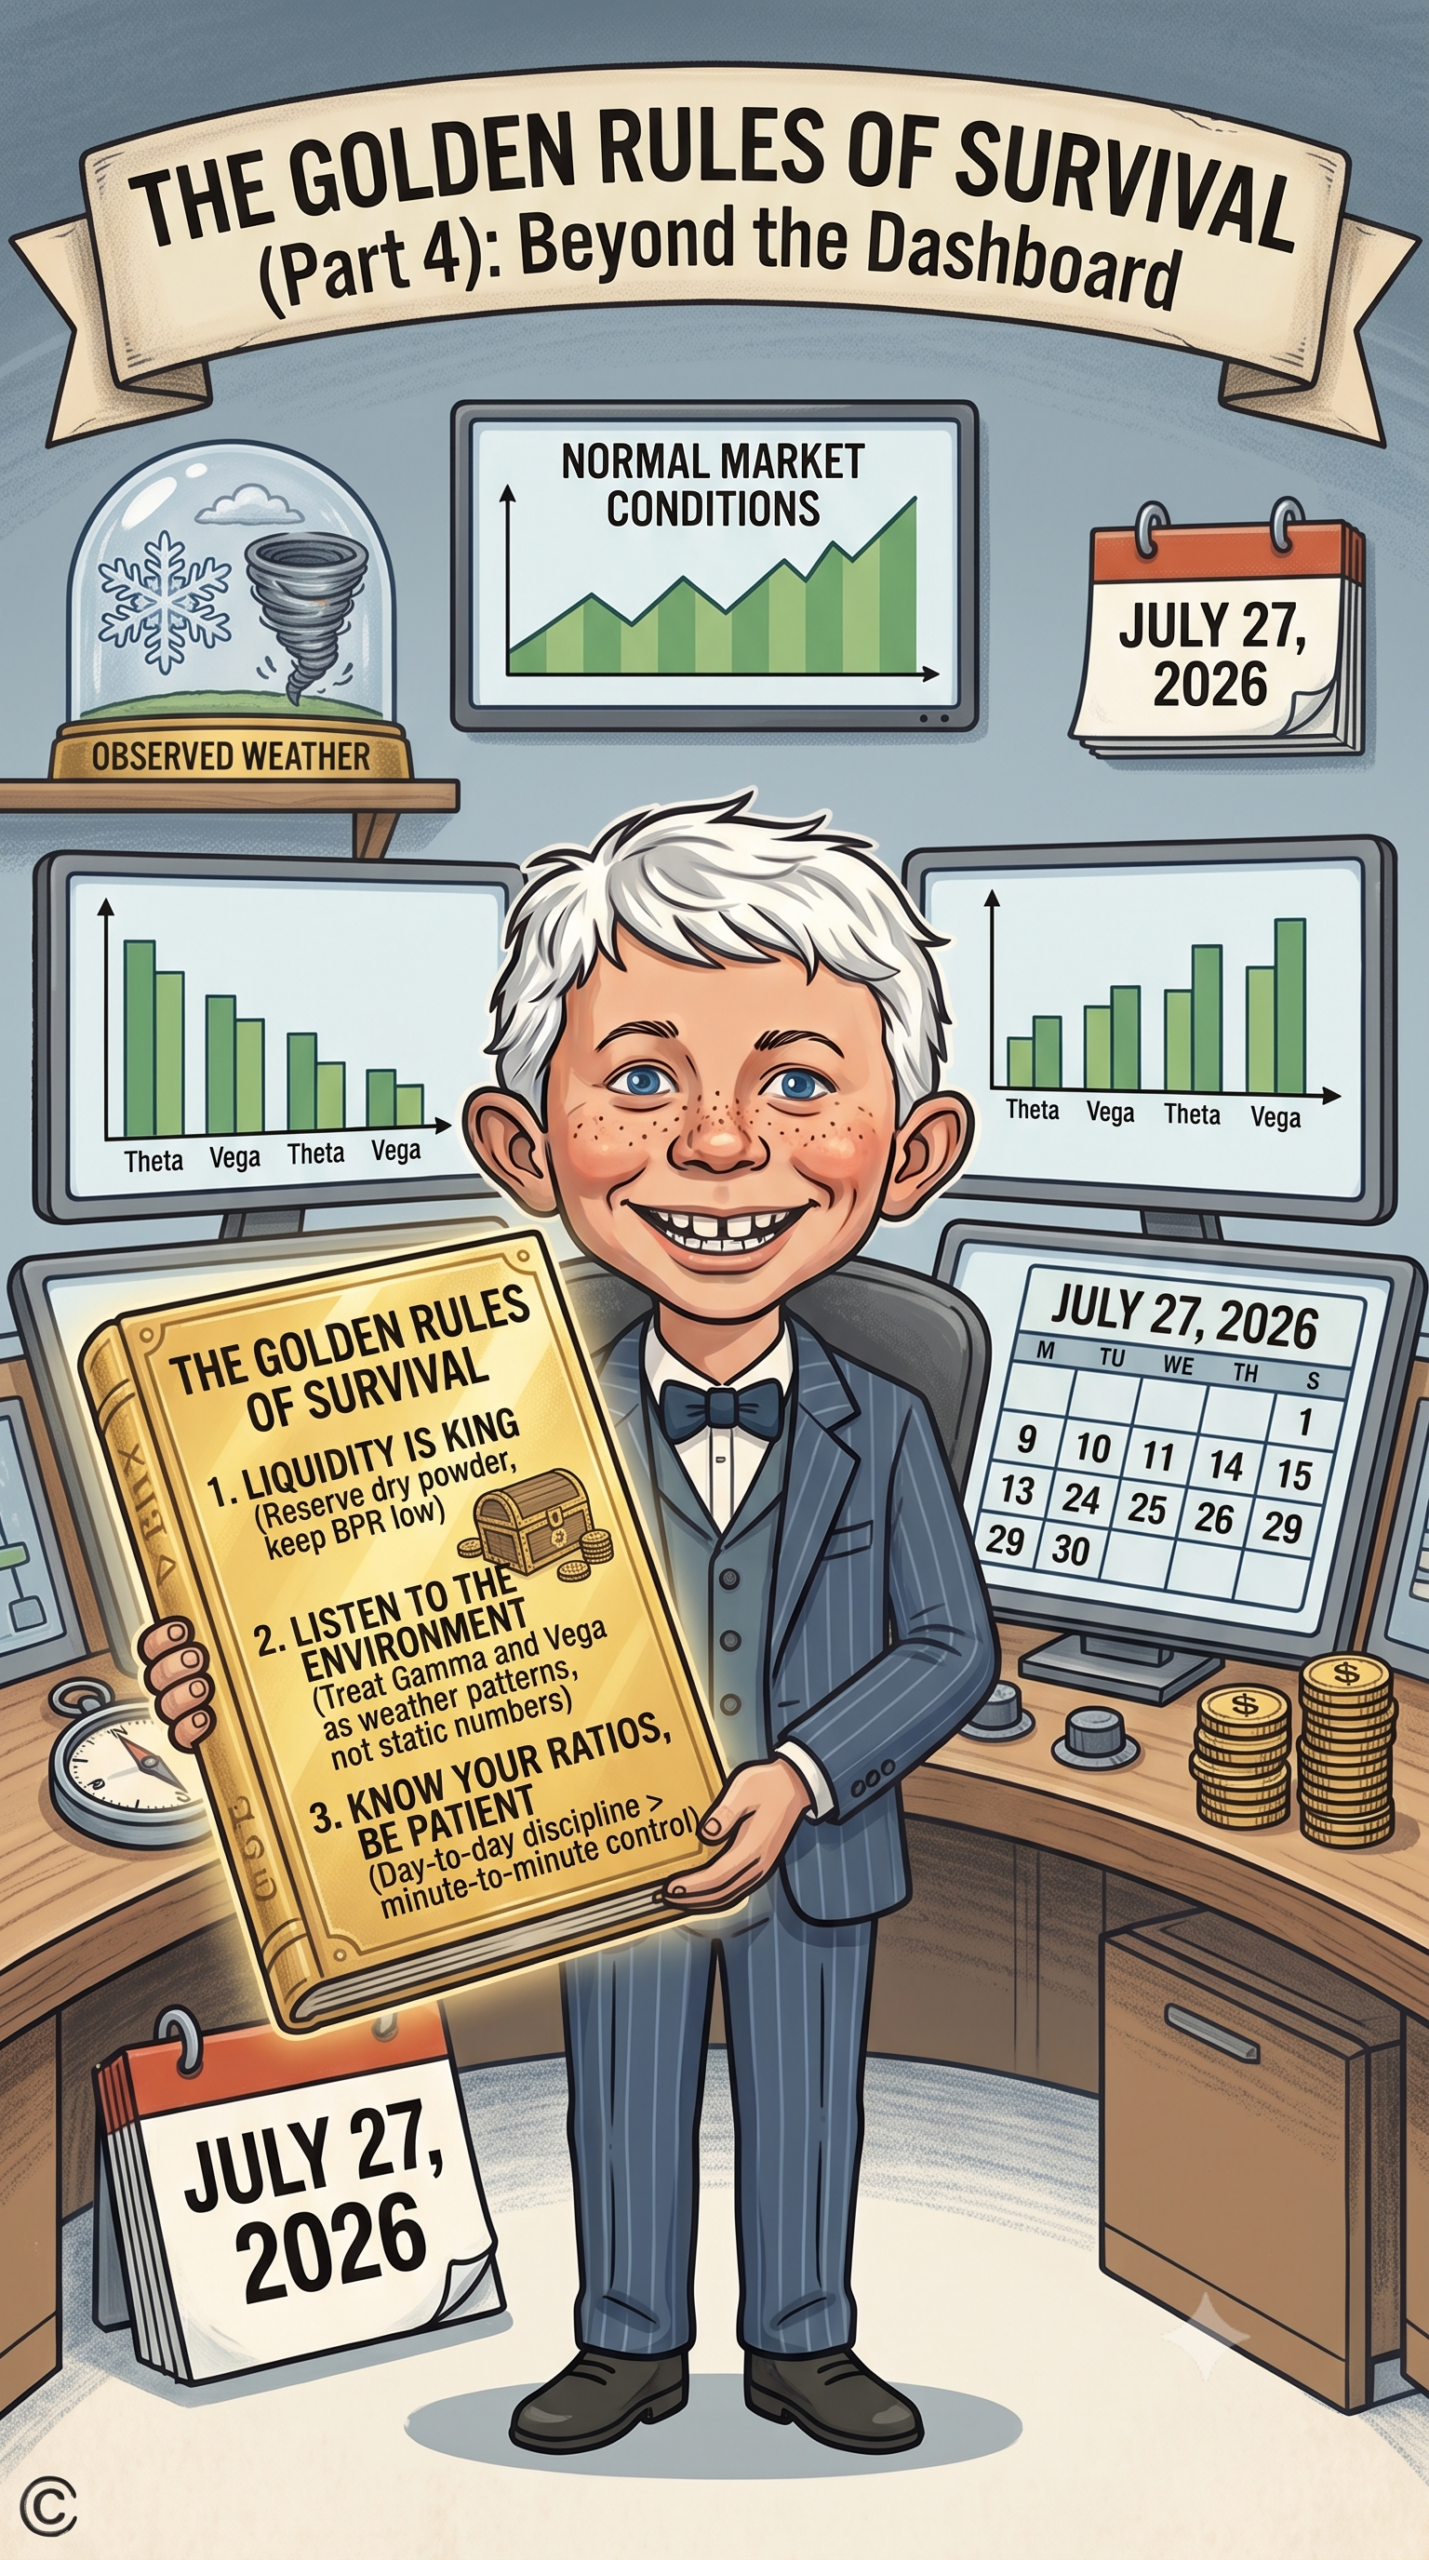
Exit Rules Beyond 50%, Managing Buying Power, and Building Your Personal Playbook
In the first three parts of this series, we laid down the quantitative framework. We established our baseline time-decay engine using Delta and Theta, examined how Gamma and Vega act as storm indicators when panic sets in, and unlocked the health metrics on our trading dashboard.
Having the dashboard metrics in front of you is essential, but metrics alone won’t protect your capital. When market volatility surges and order books thin out, you need strict, mechanical execution rules that remove emotion from the equation entirely.
To survive in options trading over the long haul, you don’t need a predictive crystal ball. You need a structural playbook—and you need to recognize that a single rule like “close at 50% profit” is not a universal law for every strategy or every trader.
Here are the operational rules of execution that keep systematic traders off the casualty list, backed by trade mechanics, real-world risk management principles, and the reality that every trader must build a plan that works for them.
Rule 1: Tailor Your Exit Strategy to Your Trade Structure
A common mistake in retail options education is taking rules designed for simple short puts or covered calls and applying them indiscriminately across every trade structure.
While taking profits at 50% of maximum credit collected is a solid benchmark for standard, symmetrical short premium trades (like naked puts, strangles, or standard credit spreads), it breaks down on specialized, asymmetric, and debit-based strategies.
If you run non-linear or multi-leg campaign trades, your profit targets must align with the mechanics of the specific structure you are running:
| Strategy Category | Representative Trade Types | Why the Standard “50% Credit” Rule Fails | Tactical Exit Target |
| Standard Short Premium | Short Naked Puts, Strangles, Standard Credit Spreads | Max profit is capped strictly at initial credit collected; holding for the last 50% exposes capital to expanding Gamma risk for diminishing returns. | 50% of Initial Net Credit |
| Ratio & Asymmetric Structures | 1-1-1 Trades, 1-1-2 Trades, Ratio Spreads | You enter for a small net credit, but the trade contains an embedded debit spread “profit tent.” Taking 50% of the tiny net credit yields a fraction of the trade’s real profit potential. | Fixed Dollar Target / 25–50% of Debit Tent Width |
| Debit Time Spreads | Long Calendars, Double Calendars | You pay a net debit upfront instead of collecting a credit. Max theoretical profit cannot be calculated exactly due to back-month volatility dynamics. | 10% to 25% Gain on Net Debit Paid (Close 2–3 days before front-month expiration) |
| High-Credit Neutral Trades | At-The-Money Iron Flies, ATM Straddles | Credit collected is massive (often 30–50% of wing width). Hitting 50% requires the underlying stock to pin perfectly at the center strike at expiration. | 25% of Max Credit Collected |
| Diagonals / Stock Substitutes | Poor Man’s Covered Calls, Diagonal Spreads | Hybrid structure combining long LEAPS delta with short time decay. Managing purely on short leg credit ignores capital tied up in long legs. | 15% to 25% Return on Capital (ROC) on Total Debit |
Deep Dive: Why Ratio Trades (1-1-1 / 1-1-2) Require a Different Playbook
Consider a classic 1-1-1 structure (e.g., in /ES futures or SPX):
- 1 Short Near-the-Money Call or Put (finances the structure)
- 1 Long Out-of-The-Money Debit Put Spread (provides downside protection / “profit tent”)
- 1 Short Naked Put (placed deep out-of-the-money to fund the debit spread and collect a small net credit)
If you enter a 1-1-1 trade for a modest net credit of $1.50 ($75.00 cash), exiting at “50% of credit collected” means closing the entire trade for a $37.50 profit.
That completely misses the mechanics of the trade! If the market pulls back into your debit spread, the position value expands rapidly inside the “profit tent.” In a ratio trade, you aren’t managing to 50% of a $1.50 credit; you are managing toward a fixed dollar profit target (e.g., $500–$1,000 per contract) or closing the debit spread when it reaches a target width while monitoring the tail risk on the naked put.
Rule 2: The 21 DTE Time Stop (Stepping Off the Gamma Cliff)
Regardless of whether you manage a trade at 50% credit, 20% on debit, or a fixed dollar target, one rule remains nearly universal for short option legs: respect the 21 Days to Expiration (DTE) window.
As discussed in Part 2, Gamma measures how fast your Delta changes. In the final 3 weeks before expiration (under 21 DTE), the time-decay curve steepens, but Gamma risk explodes exponentially for options near the strike price.
Time Decay (Theta) vs. Acceleration Risk (Gamma)

 60 DTE               45 DTE               21 DTE               0 DTE
   |                    |                    |                    |
   |--- Optimal Entry --|-- Ideal Decay Zone -|-- GAMMA CLIFF -----|
   | (45 DTE Baseline)  |                    | (Close or Roll!)   |
At 45 DTE, a $1.00 move in the underlying stock causes a minor wiggle in your Delta. At 5 DTE, that exact same $1.00 move can swing your Delta wildly from -20 to -80 in minutes. A minor market wiggle can turn a winning trade into a severe loss overnight.
The 21 DTE Action Plan
When open short option legs reach 21 DTE:
- If the position is in profit: Close the position and recycle the capital.
- If the position is near breakeven or tested: Decide whether to close the trade for a small loss or roll the positionout in time to the next monthly expiration cycle (e.g., from 21 DTE out to 45 DTE) for a net credit.
By making 21 DTE a strict time stop for your short legs, you eliminate tail-risk exposure during the most volatile phase of an option’s lifecycle.
Rule 3: Don’t Spend All Your Cash (Managing Buying Power Usage)
In a margin account, your broker allows you to sell short options by holding only a fraction of the position’s total nominal value as collateral—known as Option Buying Power (BP) Usage.
The biggest operational mistake traders make during quiet market periods is deploying 80% to 90% of their available buying power because “everything looks safe.”
When market volatility spikes, two things happen simultaneously:
- Option prices inflate: Expanding Vega creates temporary paper losses on short options.
- Margin requirements expand: Brokerages and clearinghouses dynamically raise buying power requirements to protect against clearing defaults.
If your buying power usage is sitting at 90%, a sudden 3% market drop will expand your margin requirements beyond 100%. Your broker will not wait for you to analyze the situation—they will issue a margin call and automatically liquidate your positions at market bottoms, locking in maximum losses.
Case Study: A Tale of Two Accounts
Looking back at our real-world portfolio snapshot from Part 1, we see a textbook contrast in risk management across two accounts:
| Account Identifier | Net Liq | Options BP | BP Usage % | Operational Status & Strategy |
| Individual Account | $56,442.04 | $33,416.38 | 40.8% | Pristine Risk Management: ~60% dry powder available. |
| Roth IRA Account | $81,307.96 | $8,376.24 | 89.7% | High Risk: Over-leveraged for an IRA; zero room for margin expansion. |
- Individual Account (40.8% BP Usage): This account represents pristine risk management. Holding roughly 60% of capital in reserve gives you the “dry powder” needed to absorb volatility spikes, roll challenged positions, or open new high-IV positions when market panic peaks.
- Roth IRA Account (89.7% BP Usage): This account is dangerously over-extended. Because retirement accounts (IRAs) do not permit borrowing or cash margin leverage under federal regulations, margin expansion during a crash can completely lock up the account. This serves as a real-time example of a risk profile that needs immediate dialing back by closing trades or reducing position sizes.
The Golden Rule: Keep your overall Buying Power Usage under 50% in normal volatility environments. If the VIX drops below 15, consider scaling back even further to 30–40% BP usage to ensure you always maintain adequate dry powder.
The Operator’s Decision Tree: Managing Tested Trades
When a trade goes against you, mechanical execution replaces emotion. Here is the step-by-step decision framework for managing short option legs and challenged positions:
                      [ Underlying Stock Moves Against Strike ]
                                          |
                                          v
                         [ Has Position Reached 21 DTE? ]
                                   /             \
                                  /               \
                             ( YES )             ( NO )
                                /                   \
                               v                     v
                [ Can You Roll for a Credit? ]    [ Monitor Position ]
                     /               \             (Let Time Decay Work)
                    /                 \
               ( YES )               ( NO )
                  /                     \
                 v                       v
      [ Roll Out 30-45 Days ]    [ Close Trade / Accept Loss ]
   (Extends Time & Reduces Delta)  (Protect Capital Base)
Step 1: Evaluate the Delta and Expiration
If a stock drops toward your short put strike, don’t panic. Check your DTE and the current Delta of the tested strike. If you still have more than 21 days until expiration, let time decay do its job.
Step 2: Roll for a Net Credit (Extending Duration)
If the trade reaches 21 DTE and the strike is tested (or in-the-money), attempt to roll the option out in time to the next monthly expiration cycle (30 to 45 days out).
- The Cardinal Rule of Rolling: Only roll if you can collect a net credit.
- Why Net Credit Matters: Collecting a credit increases your total maximum profit, widens your breakeven price further away from current stock levels, and buys you more time for the stock to recover without putting another dime of fresh capital at risk.
Step 3: Know When to Cut the Loss
If you cannot roll the position for a net credit, or if the underlying asset’s fundamental thesis has completely broken down, close the trade and accept the loss.
Never take on secondary risk (like taking delivery of stock you cannot afford or converting a short-term trade into a long-term hope) just to avoid recording a loss. Accepting small, mechanical losses is an inherent cost of doing business in options trading.
The Ultimate Rule: Build Your Personal Trading Plan
If there is one overarching takeaway from this entire series, it is this: there is no single “holy grail” strategy or rigid rulebook that fits every trader.
The key to all of this is coming up with your own trading plan and strategies that work specifically for you, your risk tolerance, and how you like to trade.
The Greeks, portfolio health ratios, and exit guidelines aren’t rigid dogmas—they are structural tools in a toolbox. A strategy that looks pristine in a backtest or on a blog is completely useless if it causes you sleepless nights or doesn’t fit your daily life.
The goal of learning options mechanics isn’t to copy someone else’s portfolio word-for-word. It is to give you the foundation required to build your own system:
- Know Your Personal Risk Tolerance: If a 3-standard-deviation market dip gives you heartburn, running 80% Buying Power Usage or naked strangles isn’t for you—no matter what the theoretical yield says. Structure your positions (defined-risk spreads, ratio tents, or low BP usage) so you can sleep comfortably.
- Match Strategy to Lifestyle: If you can only check your platform during lunch breaks or after market hours, avoid high-gamma, fast-moving short-dated trades. Stick to 45 DTE cycles, 21 DTE time stops, and structures like 1-1-1s or calendars that require minimal intraday babysitting.
- Define Your Own Rules of Engagement: Whether you trade standard short puts for 50% max credit, ratio 1-1-1s for a fixed dollar target inside the debit tent, or double calendars for 15% on debit paid, write down your entry, management, and exit rules before you open the trade.
Series Conclusion: The Mindset of an Options Operator
Over this four-part series, we have traveled from the theoretical foundations of quantitative finance to the practical realities of managing live accounts:
- Part 1 (Why Markets Aren’t Bridges): We debunked “physics envy” and established that options trading isn’t about solving static engineering problems. It’s about building a balanced time-decay engine powered by Delta and Theta.
- Part 2 (The Snowball and the Storm): We explored how Gamma and Vega act as dynamic risk indicators, demonstrating how human panic and automated algorithmic feedback loops break classical Gaussian bell curves.
- Part 3 (Your Portfolio’s Health Dashboard): We unlocked the key operational ratios—Delta-to-Theta, Theta-to-Net-Liq, and Theta-to-Vega—and highlighted why theoretical daily Theta is a gravitational pull rather than a guaranteed daily paycheck.
- Part 4 (The Golden Rules of Survival): We formalized the execution playbook—matching exit targets to trade structures, stepping off the Gamma cliff at 21 DTE, maintaining dry powder, and building a personalized trading plan.
The Ultimate Takeaway
Trading options successfully isn’t about being the smartest mathematician in the room or predicting macroeconomic trends. It’s about operating like a disciplined insurance underwriting business:
- You do not predict where individual stocks will go; you price human fear and aggregate volatility.
- You do not rely on static formulas; you manage dynamic, adaptive risk.
- You do not blindly follow generic rules; you execute a personal strategy that fits what works for you.
When you stop trying to force markets to behave like predictable bridges and start operating with a personalized, disciplined risk management plan, market volatility stops being a terrifying threat and becomes what it was always meant to be—a continuous, systematic source of opportunity.
References & Further Reading
- tastylive Insights (2023). “Managing Winners: Why 50% is the Sweet Spot.” (tastylive Article)
- tastytrade Help Center. “Managing Options Positions at 21 DTE.” (Help Center Article)
- tastytrade Help Center. “Understanding Option Buying Power vs. Stock Buying Power.” (Help Center Article)
- Natenberg, Sheldon. Option Volatility and Pricing: Advanced Trading Strategies and Techniques. McGraw-Hill.
- Passarelli, Daniel (2011). Trading Option Greeks: How to Use Derivatives Math to Increase your Profits. Wiley Trading.